Know what the processing of the anvil in Minecraft can be very useful during the game. That's why we encourage you to read on and find out how you can start taking advantage of everything this wonderful item can offer you in the game.
How to make an anvil?
The anvil in Minecraft allows us to carry out many tasks which are vital if we are to get the most out of this game.
For example, it allows us to name the objects and animals we want when we finish creating the labels we want. With the anvil we can also repair weapons, tools and armor, as well as allowing us to enchant them to our liking.

And, besides being a very necessary tool for playing Minecraft, the anvil is very easy to make. Of course, to make the most of the anvil, you need to be able to update Minecraft to the latest version. This way, you will be able to enjoy many more options than the anvil has.
What steps do you need to follow to make an anvil in Minecraft?
The first thing you need to do is procure the materials needed to make the anvil. What you need to do to start is to get iron in Minecraft in total 27 ingots to be able to create 3 blocks of this material. In addition to 4 ingots of this same material to be able to finish another part of the anvil. Now, the steps you need to follow to make an anvil are:
- Click on your crafting table to start crafting.
- Select i three iron blocks and place them on the first three squares on the table.
- Next, take an iron ingot and place it on the center square of the second row of the table.
- Finally, completely fill the last row with the leftover iron ingots.
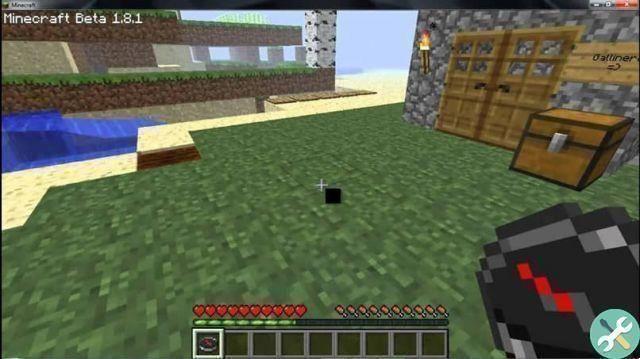
That's all! Now you just have to take the anvil, take it to your inventory and put it where you like best. Although you have to remember that, like gravel or sand, the anvil falls off if you put it in the air, so you have to make sure you put it in a place where it cannot harm any players or animals.
How to use the anvil after making it?
Of course, once you've created the anvil, you'll want to start using it in the game. Keep in mind that the anvil has 24 uses, so you need to choose carefully what we use it for. Also, in order to be able to make repairs or name what we want on the anvil, we have to pay with a certain amount experience points.
To name or repair an object, you must first place it in the left pane of the anvil. On the right, therefore, we put the material that we will use to repair it, or we write the name you want the object in question to have. Finally, you just have to remove the already repaired or named item from the third box, obviously putting it in your inventory.
This is all you need to do to get there. You may also be interested in the fact that, to level up spellbooks in Minecraft, you can combine it with the help of the anvil.
We invite you, in addition to following these steps, to see the large number of tutorial e gameplay su Minecraft available on YouTube. This way, you will be much better at the game.
Playing Minecraft we all want to keep moving forward and getting better and better. Also, playing with two other people in Minecraft will make the experience unique. Don't forget, the anvil is a tool that can help us make it happen.
That's why we hope you are able to create and use correctly the anvil and that you can fully enjoy all the options it offers.
TagsMinecraft