Please note that after doing everything below, you will have your own skin, but nothing else will change. So, if you want to further customize your world for a better experience, you should install mods on Minecraft PC Windows 10, Mac, Android and iPhone.
Main tools for the skin editor
If you want to learn a create or create a skin with a skin editor in Minecraft, you have to keep in mind that it all depends on you, because the programs are very easy to get. In this guide, you will see the basics you need to know to use these tools.
The program you will use is obviously the one with the title called skin editor, you can find it simply by typing its name in the web browser. Once inside, you will notice that there are several options with which you can create your skin and you will also get a 3D model of a Minecraft character.
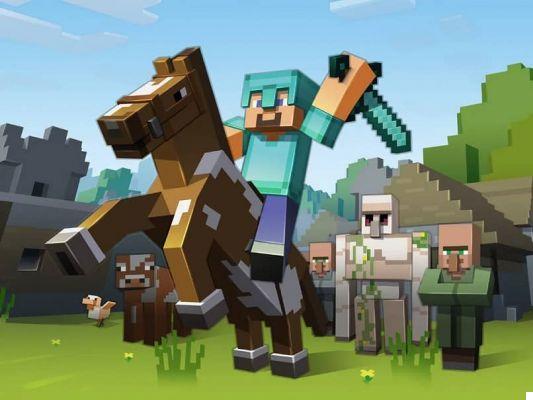
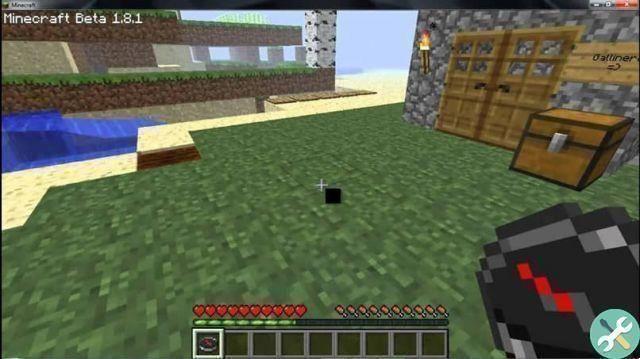
How to make or create a skin with the skin editor in Minecraft?" src="/images/posts/587651f2032700d93674f1893c47fbae-0.jpg">
To use a tool you just have to click on it or press the corresponding hotkey on the keyboard, the ones that are available are: Pencil (which is what will create the colors inside the doll), rubber (allows you to delete everything you apply).
Autotone (also colors the pixels above the 3D model, but depending on the color you have chosen, it automatically changes it to give it shade and sheen), color picker or eyedropper (allows you to directly choose a color of the doll to use).
And finally the bucket, this will completely fill a section of the doll. In addition to these tools, you can also enlarge and reduce it, as well as change the size of the pencil. Similarly, you can remove a body part from the model with the squares appearing in the lower right corner.
Please take into consideration before moving on to the creation part, that if you don't follow the steps as they are, you will get the error “I don't see skin or my skin in Minecraft”, so be careful.
How to make or create a skin with the skin editor in Minecraft?
Now that you have learned what the tools are, you are ready for create or create a skin with a skin editor in Minecraft. Since in reality it all depends on you and your tastes, here what you will see is how to use each tool.
You just have to choose the brush from the list and then select a color, in the gradient circle on the right side. After that, you just have to tap on one of the pixel boxes and the color will be there. If you want to rotate the doll to paint elsewhere, position yourself next to it without touching it and click, then rotate the mouse.
How to make or create a skin with the skin editor in Minecraft?" src="/images/posts/587651f2032700d93674f1893c47fbae-1.jpg">
At the same time, complete the previous tool with Autotone, when you go to create lights and shadows, because it will choose the tones that are best seen based on your color. If you want to save time, first use the bucket to fill and then the Autotone to give texture to the figure.
In case you have placed a color and you don't know what it is, but you want to reuse it, use the dropper, as it will extract the exact extract. For your convenience and because they are small pixels, use the zoom magnifier so you don't make a mistake.
When done, simply press the button "Download" And that's it. Now you can say that you know everything you need to be able to create or create a skin with a skin editor in Minecraft, it's time for you to get out of here and put your creativity and technique into practice.
In case you don't know how to place said skin on you and you are in doubt about how to make my Minecraft skin appear in multiplayer?
TagsMinecraft