Nowadays, a large variety of software costs. and devices that allow for better and greater interaction between online players. In this sense we must name Steam a very complete service that also offers integrated voice chats. A large variety of online content, but for this to work it needs to be set up in advance. That's why we will tell you how to make microsoft microphone work with steam.
It is important that you understand that two configurations must be made in order for the your microphone can be supported by Steam. Make adjustments in the Windows system first in this case at hand and then you need to use the calibration and configuration software Steam Voice. If you make these adjustments perfectly, you will be able to use all the functions of this service.
There are many applications that we can use to make online gaming a great experience. But unfortunately many don't know how to use it and they lose these tools. Where maybe you had trouble being able to restore Steam games and made a backup or backup.
How to make Microsoft's microphone work with Steam
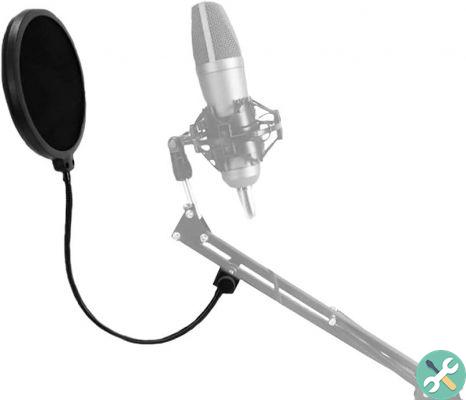
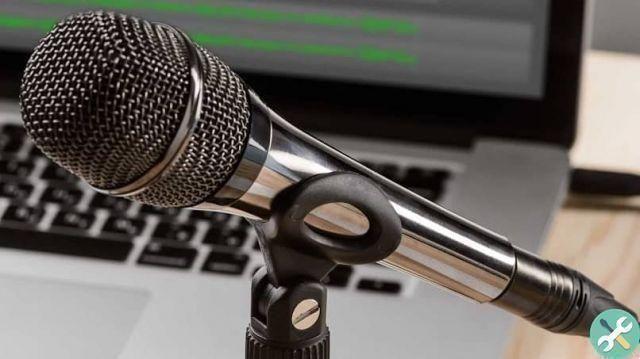
Now let's stop talking and let's get straight to the point and for this we will explain what are the steps so that the Microsoft microphone works with Steam. although PC sound functioning is also important for a superior experience. And we will start with the connections and for that you have to take the microphone connector and connect it to the pink input that you can find on the back of your CPU or in front.
In case you have a microphone USB, go to any of the ports on your computer and plug it in. If the microphone you are connecting requires driver installation, use the CD that came with it and insert it into the reading drive. And now follow the steps to complete the microphone installation.
Make the Microsoft microphone work with Steam
The next step once the microphone is installed is to configure it and to do so, go to the Volume icon located on the right side of the taskbar.
There you will right-click and in the menu that will appear, you will choose the Recording Devices option. And when you enter you will see that the microphone it shows it is connected and working.
The next step is to go to the application Steam, where you need to create an account, then look for the Settings option, then select the Voice tab and finally click on the Detect Audio Device option.
You should now go to the Registration section and select Change Device. The next step is to double click on the Microphone option, then hit the Apply button and finally click OK.
This way we're done making the settings changes, so let's go to the Test Microphone button and click on it.
This so that you can verify that the microphone works without problems, then start talking. Also try the Microphone and Receive controls, this will adjust both the input and output volume.
Once you have finished the test and verified that everything is working perfectly, you need to click on the Stop Microphone Test option.
The next step is to choose the Use a Press To Speak For key option convey the voice. You will find it in the section When voice chat is active and you need to choose which key will perform this function.
By default the V key is used and once chosen, you will click on the OK option to complete the setup. Now, whenever you use a Steam application, these settings will be applied.
So in this way we have culminated with this tutorial which will show you how to make microsoft microphone work with steam.
TagsSteam